How To Manage Your Defects (Issues) Lifecycle?
Managing the Defects Lifecycle
To manage the Defects created by using issue, follow the steps mentioned below:
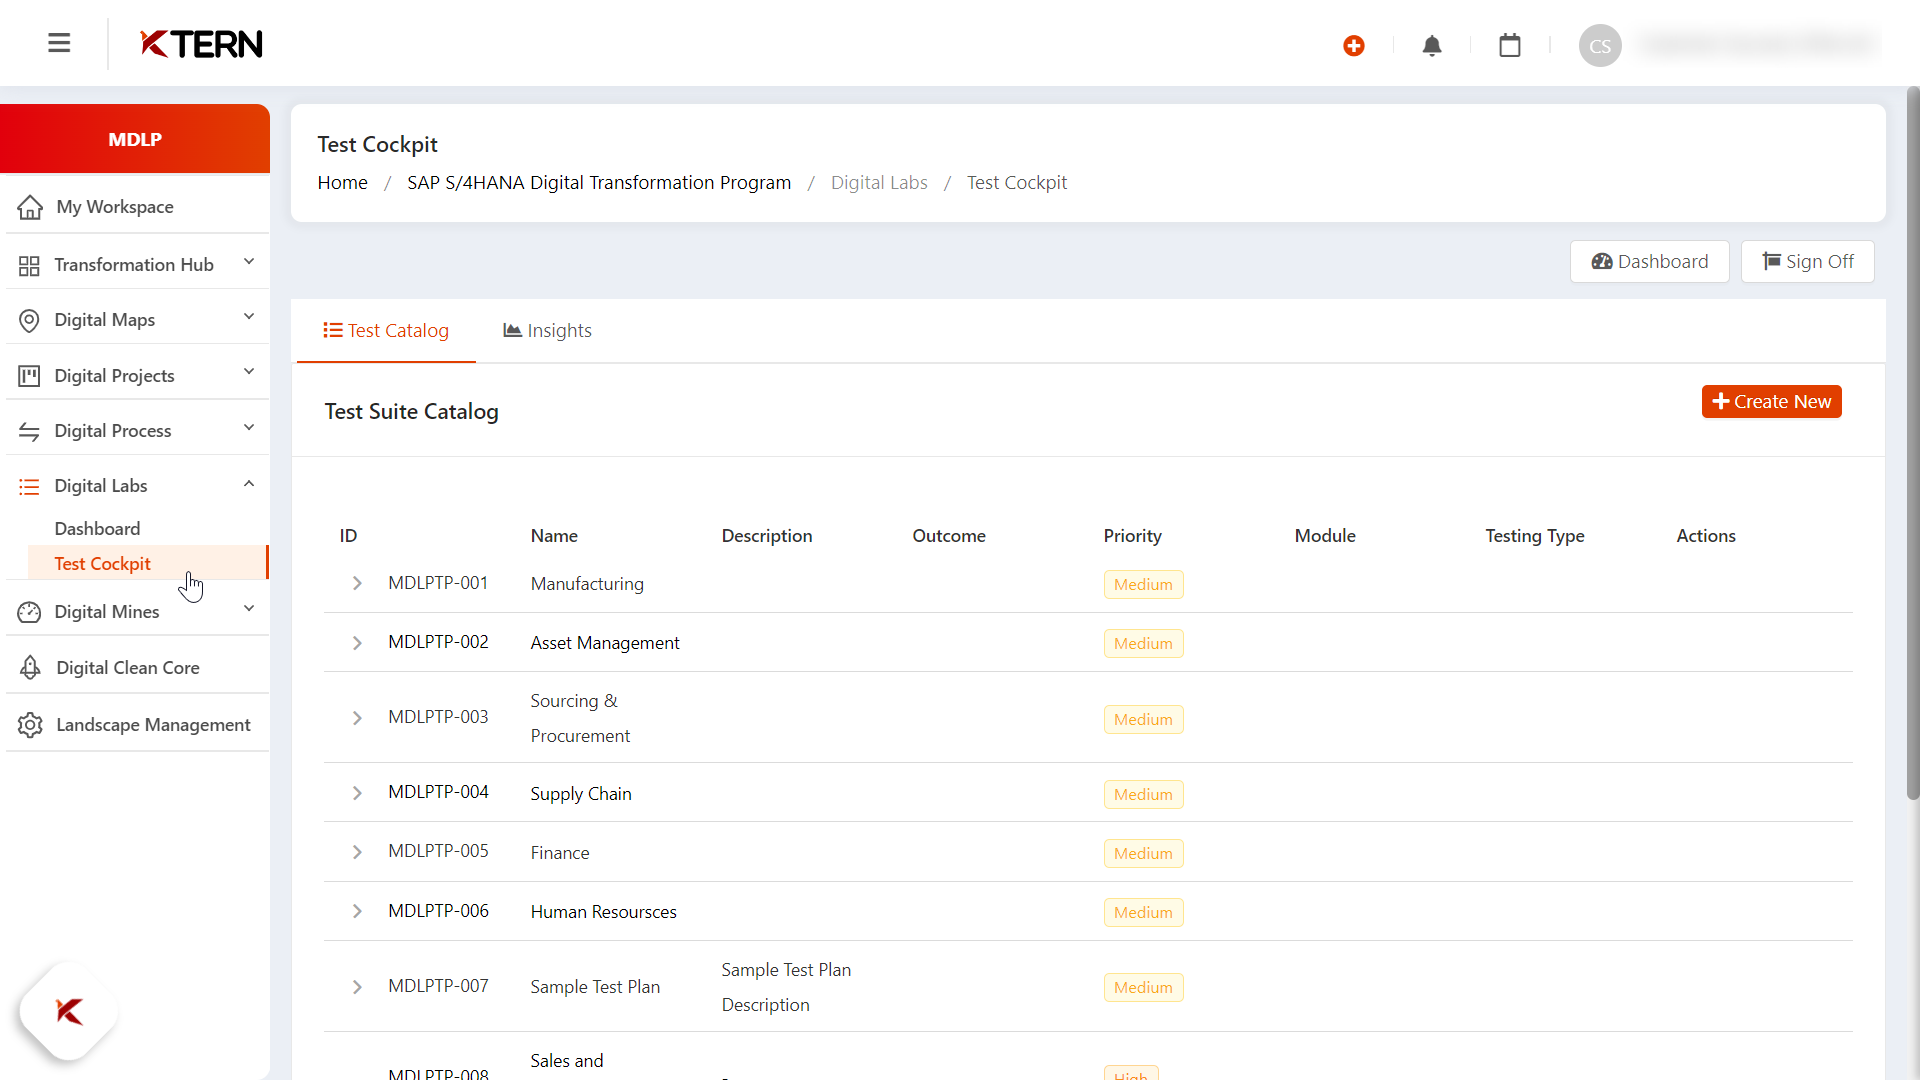
Accessing Defects (Issues)
- Click on the Hamburger icon.
- Navigate to the Transformation Hub.
- Click on "Issues" to navigate directly to the dedicated Issues page.
- Explore all created Defects within the Workitems to gain comprehensive insights, including:
Note: This detailed overview empowers users to make informed decisions and effectively manage the Defects' lifecycle.
Updating the Defects & Accessing the Issue Wizard
- Use the “i” icon to update an issue.
- Use the Launch icon to enter the Issue Wizard. The Issue Wizard provides overall information, including:
- Overview:
- Stakeholders: Identify key individuals or groups involved.
- Planned Vs Actual: Compare planned vs. actual progress for insights.
- Files: Access relevant files for efficient document management.
- Discussion: Collaborative space for team communication.
- Work item Hierarchy: Visualize hierarchical structure.
- Wiki Notes: Centralized notes section for crucial issue information.
- History: Track historical updates for transparency.
- Reference: Access essential details for issue context and dependencies
Filtering and Grouping Defects
- Use the filter icon to effectively narrow down issues.
- Use the Group icon to effectively categorize issues based on:
- Status: Group issues based on their current state or progress.
- Parent Task: Categorize issues under their respective parent tasks or any other work items.
- Assigned to: Group issues by the team members responsible for their resolution.
- Work Package: Categorize issues according to their associated work packages for streamlined project management.
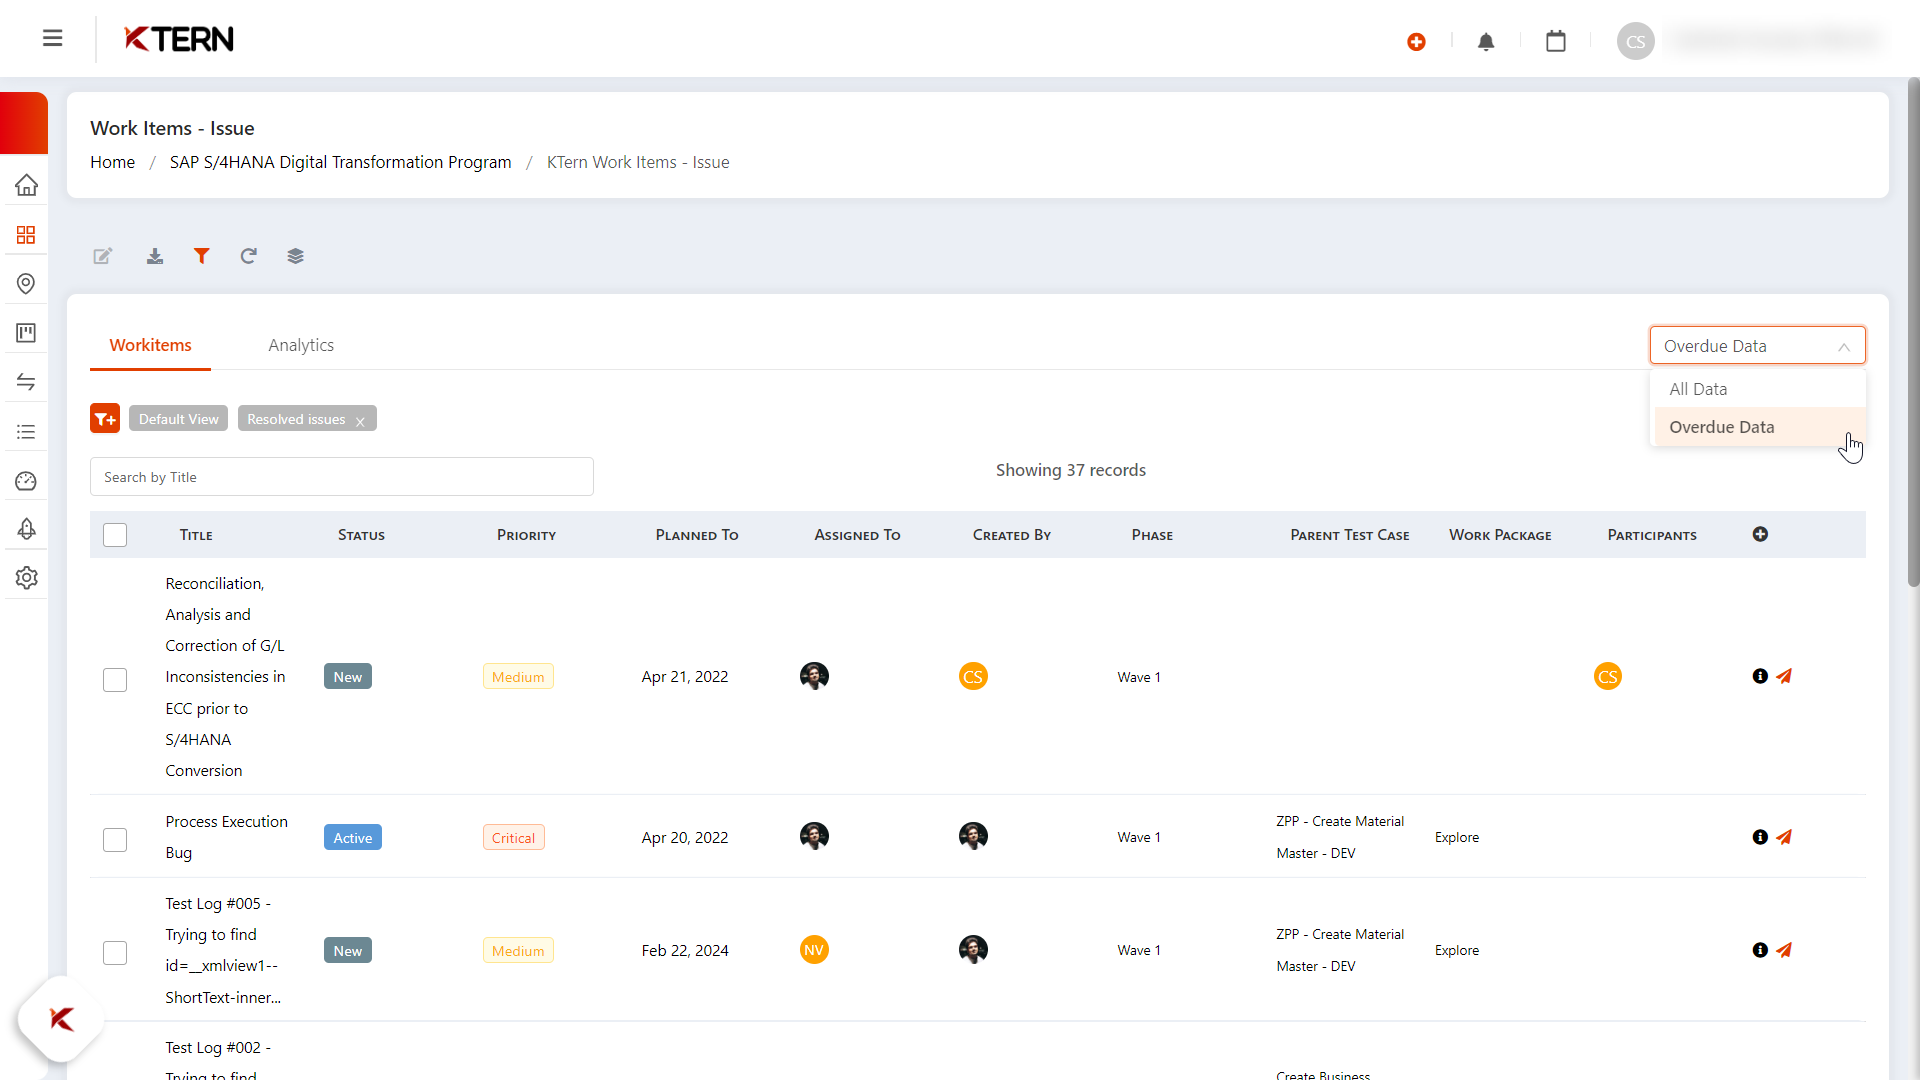
Tracking Overdue Data
To track overdue data in issues, select Overdue Data.
Analyzing Defects
Click on Analytics to visually understand the status of all issues. A pie chart with details on the status and the number of overdue items will appear.